Making some progress with the deblurring. I haven't shown you any shots of the user interface yet, because that's still unfinished, although it is getting closer to a presentable version. In general I'd say that if you'd like to use this in a next version of DNGMonochrome, be aware it's not a one-click solution. Some photos really require some effort to get to an acceptable result, and the method itself will never lead to 'perfection'. It's simply not possible (I think) to filter photos like this without some downsides (as in additional artifacts thrown in for free). Personally I think this method is only useful if the blur isn't too extensive.
Here's another quick example...
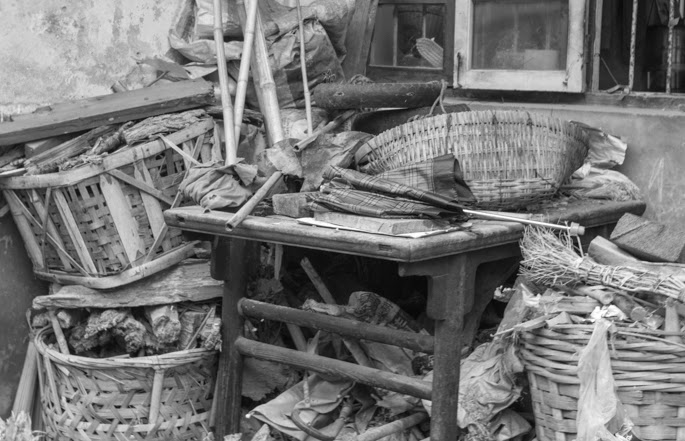
 Blurry original... (no mouseover on this one, see the crops below...)
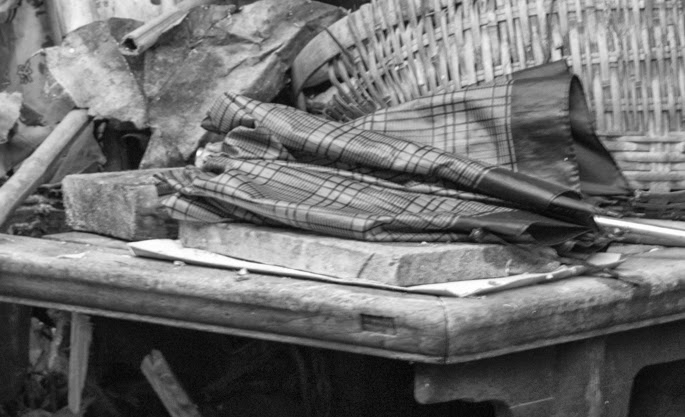
 Small crop from a blurred Canon 40D photo, converted with DNGMonochrome... note that this is a real life shot, not some fake blurred image... the monochrome DNG was then developed in Lightroom, with no sharpening and no noise reduction. Move over the image with your mouse to see the blur corrected version produced by DNGMonochrome, which got exactly the same treatment in Lightroom (no sharpening nor noise reduction)...
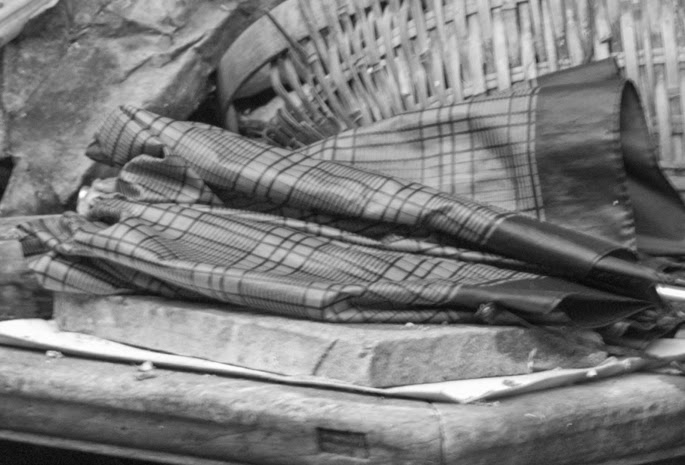
 Same as above, but an even smaller piece of the photo... move over the image with your mouse to see the blur corrected version produced by DNGMonochrome...
 Same as above, but now the blurred original was sharpened 70% in Lightroom... as you can see - for the more doubtful - the deblurring isn't comparable to sharpening... Move over the image with your mouse to see the blur corrected version produced by DNGMonochrome (which was not sharpened)...
 Blurry original... (no mouseover on this one, see the crops below...)


No comments:
Post a Comment